

Hello, friends! I have a new pattern for you! I made this seagull for a friend’s daughter a while back and of course, I wanted to share it with you as well. I just love how he turned out and I hope you do too! I especially love his jaunty little fisherman’s hat. I think he would make a great gift for an ocean lover, nautical nurseries, or anyone who enjoys a bit of coastal whimsy!
The Details
- The finished measurements are approximately 20 cm/8″ tall when the Seagull is sitting (about 30 cm/12″ including the length of the legs) and 15 cm/6″ from front to back.
- This piece is worked in separate pieces (body, wings, legs, beak, and hat), which are stitched together during assembly.
- All pieces are constructed in continuous rounds, except for the hat, which is worked in a flat panel (due to the unique wide shape of the hat).
Let’s get started! (Or Pin/Shop for later!)


If you’d prefer a downloadable or printable version of this pattern, an inexpensive, formatted, and ad-free PDF can be purchased the following ways:
Materials:
(Affiliate links coming at you!)
- 6mm hook for main and 3.25mm hook for hat (I use THESE hooks!);
- Loops & Threads in Chenille Home Slim (Super Bulky, weight 6) in the following colours:
- White (100g);
- Mustard (50g);
- Ash (small amount);
- Black (very small amount);
- Any DK weight (Sport or Light, Weight 2 or 3) in colour of your choice for the hat (50g). I used Sheepjes Softfun in Cobalt.
- 10mm safety eyes;
- Four (4) Stitch markers;
- Stuffing;
- Tapestry needle.
Terms and Stitches:
Ch – Chain
Slst – Slip stitch
MR – Magic Ring
Sc – Single Crochet
Hdc – Half double crochet
Dc – Double crochet
Inc – Increase. Work a regular sc increase
Dec – Decrease. Work a regular sc decrease
BLO – Back loops only
Pattern
Body (make 1):
Rnd 1: In White, ch 9, starting in second chain from hook, sc 7, 3 sc in last ch, continue to work on the opposite side of chain, sc 6, 2 sc in last ch (18 sts)
Rnd 2: *Sc 2, inc in next st, repeat from * five more times (24 sts)
Rnd 3: * Sc 3, inc in next st, repeat from * five more times (30 sts)
Rnd 4: * Sc 4, inc in next st, repeat from * five more times (36 sts)
Rnd 5: *Sc 5, inc in next st, repeat from * five more times (42 sts)
Rnds 6-10: Sc in each st (42 sts)
Place 4 stitch markers equally around Rnd 10 as follows: place the first marker in the 2nd stitch from your hook (marker #1), then one marker on the opposite side length-wise (Marker #3). Then place one marker on each side between them (markers #2 and #4). There should be 10 sts between the back marker (#1) and each side marker (#2 and #4) and 9 sts between the front marker (#3) and each side marker (#2 and #4). Now you will split Rnd 10 to create separate sections for the body and the head.

Rnd 11: Sc 2 to marker #1 (remove marker #1), dec 5 times to marker #2, squeeze the sides together so that marker #2 and marker #4 are touching and insert hook into the stitch to the left of marker #4 (i.e. skip 21 sts, including marker #3) and continue as follows: Dec 4, sc 1 (12 sts).

Rnd 12: Sc 2, dec 5 times (7 sts)
Rnd 13: Dec 2 times, leave remaining stitches unworked.
Tie off, leaving a long tail for closing. With a tapestry needle, weave the yarn tail through each stitch and pull to close. Stuff.

Head:
Insert hook into any stitch and join White yarn.
Rnd 1: Sc in each st around (21 sts). Remove all remaining markers.
There will be a small hole on the Seagull’s back behind the neck. This is normal! It will help with stuffing later and then we will close it up.
Rnds 2-11: Sc in each st around (21 sts)
Insert 10mm safety eyes between rows 9 and 10 of the head with approximately 6 sts between them.
Rnd 12: *Sc 5, dec, repeat from * two more times (18 sts)
Rnd 13: *Sc 1, dec, repeat from * five ore times (12 sts)
Rnd 14: Dec around (6 sts)
Tie off, leaving a long tail for closing. Stuff. With a tapestry needle, weave the end through each stitch and pull to close. Top up stuffing via the hole on the back behind the neck. Sc 8 around the hole and tie off, leaving a long tail for closing. With a tapestry needle, weave the yarn tail through each stitch and pull to close. Weave end.
Wings (make 2):
Rnd 1: In Black, work 6 sc into a MR (6 sts)
Rnd 2: *Sc 2, inc in next st, repeat from * once more (8 sts)
Rnd 3: In Grey, sc in each st around (8 sts)
Rnd 4: *Sc 3, inc in next st, repeat from * once more (10 sts)
Rnd 5: *Sc 1, inc in next st, repeat from * four more times (15 sts)
Rnds 6-7: Sc in each st around (15 sts)
Rnd 8: *Sc 1, dec, repeat from * four more times (10 sts)
Rnd 9: Dec around (5 sts)
Tie off, leaving a tail for closing. Do not stuff. With a tapestry needle, weave the yarn end through each stitch and pull to close. Weave end. Flatten wing.
Legs (make 2):
Rnd 1: In Yellow, ch 6, starting in 2nd ch from hook, sc 4, 3 sc into last ch, continue crocheting on opposite side of chain, sc 3, 2 sc in last ch (12 sts)
Rnd 2: Sc in each st around (12 sts)
Rnd 3: *Sc 4, dec, repeat from * once more (10 sts)
Rnd 4: *Sc 3, dec, repeat from * once more (8 sts)
Rnd 5: *Sc 2, dec, repeat from * once more (6 sts)
Rnd 6: *Sc 1, dec, repeat from * once more (4 sts)
Rnds 7-11: Sc in each st around (4 sts)
Tie off, leaving a long tail for stitching. Flatten the foot. Stuff the leg lightly (no need to stuff the foot). Set aside.
Beak (make 1):
Rnd 1: In Yellow, wotk 6 sc into a MR (6 sts)
Rnds 2-5: Sc in each st around (6 sts)
Tie off, leaving a tail for stitching. Stuff lightly. Set aside.
Hat (make 1):
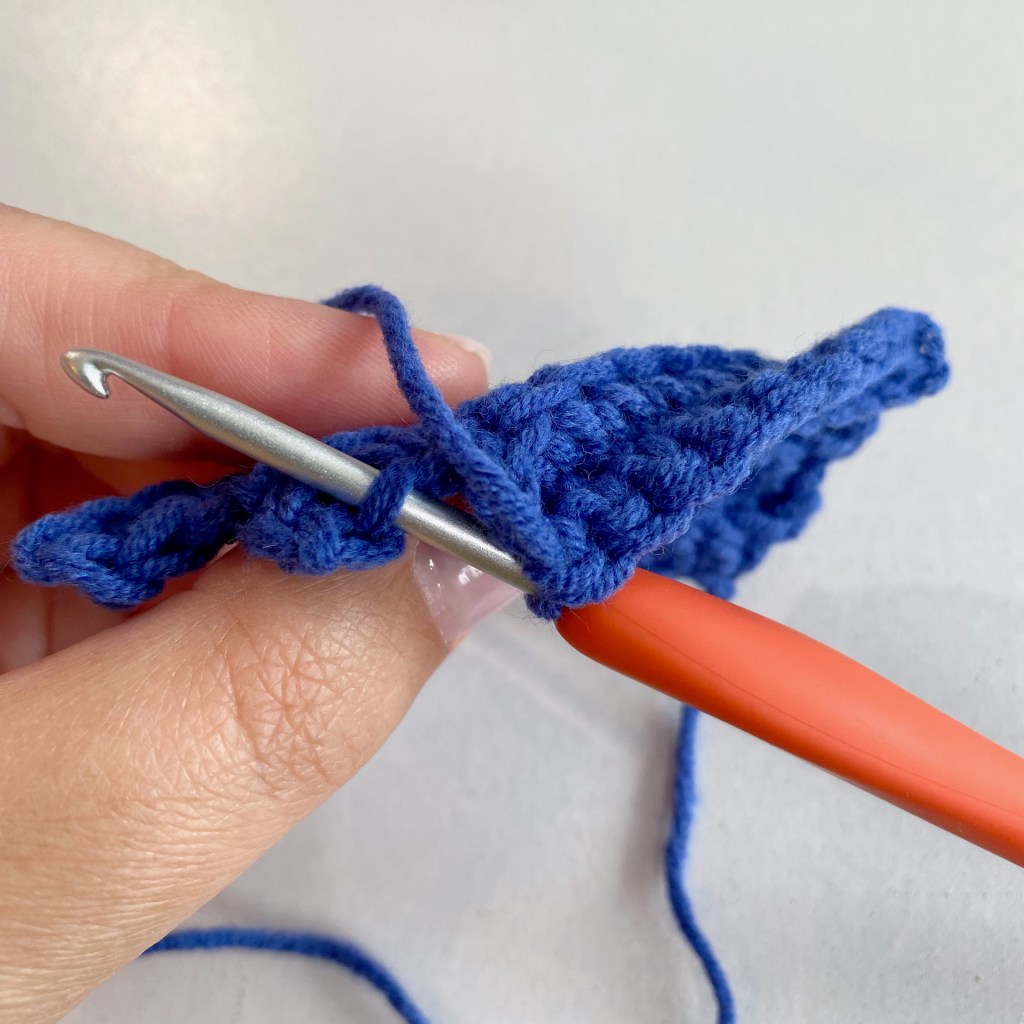
The hat is quite shallow and wide. In order to achieve this, it is worked in flat rows (rather than from top to bottom or vice versa). The edges are then joined to create a tube and the top is sewn together. The hat also incorporates short rows to make it more narrow at the top. There are lots of photos below to help!
Row 1: In sport or light weight yarn, ch 15, starting in 2nd from hook, sc in each ch across (14 sts), ch 1, turn.
Row 2: In BLO sc 12, leave remaining sts unworked (12 sts), ch 1, turn.
Row 3: In BLO sc 12 (12 sts), ch 1, turn.
Row 4: In BLO sc 10, leave remaining sts unworked (10 sts), ch 1, turn.
Row 5: In BLO sc 10 (10 sts), ch 1, turn.
Row 6: In BLO sc 10, sc 2 into unworked sts of row 4 (12 sts), ch 1, turn.


Row 7: In BLO sc 12 (12 sts), ch 1, turn.
Row 8: In BLO sc 12, sc 2 into unworked sts of row 2 (14 sts), ch 1, turn.


Row 9: BLO sc 14 (14 sts), ch 1, turn.
Repeat rows 2-9 three more times, then repeat rows 2-8 one time. Join the edges (shown in picture #5 below) and slst along both edges to join them, creating a sort of tube. Tie off and weave end. With a length of yarn, stitch up the hole at the top of the hat. Turn the hat right side out. Turn up the bottom edge of the hat about 1.5cm/0.5″ to create the brim. Stitch in place.
The photos below show the progress after each repeat:


Move on to assembly below!


Assembly:
Stitch the legs onto the bottom of the body around rnds 2-3 of the body and toward the front.
Stitch the wings on either side of the body just behind where the neck begins.
Stitch the beak onto the face between the eyes, around rows 6-7 of the head.
Place the hat on the head and stitch in place.
Weave ends.
You’re done!

Keep in touch on the Spin a Yarn Crochet Facebook Page! Feel free to post and share pictures of your finished items and/or links to your shops. Be sure to also follow us on Instagram and hashtag your creations using #spinayarncrochet!
The information and photos in this post are the sole copyrighted property of Spin a Yarn Crochet. You may not copy and paste or reproduce any part of the information contained herein electronically, verbally, written or otherwise. This includes translations.
You may make and sell products from our patterns but we ask that you please link back to this post.
We are a participant in the Amazon Services LLC Associates Program. It is an affiliate advertising program designed to provide a means for us to earn fees by linking to Amazon.com and affiliated sites at no added cost to you. As such, this post may contain affiliate links. This means Spin a Yarn Crochet may receive some compensation if you click a link and purchase something that we have recommended. Thank you for your support!


